Access Raspberry Pi Remotely With RemoteIoT: Your Guide
In an era defined by unprecedented connectivity, how can you seamlessly integrate your Raspberry Pi into your digital life, regardless of physical location? The answer lies in harnessing the power of remote access, transforming a small, single-board computer into a versatile tool that can be controlled and monitored from anywhere with an internet connection.
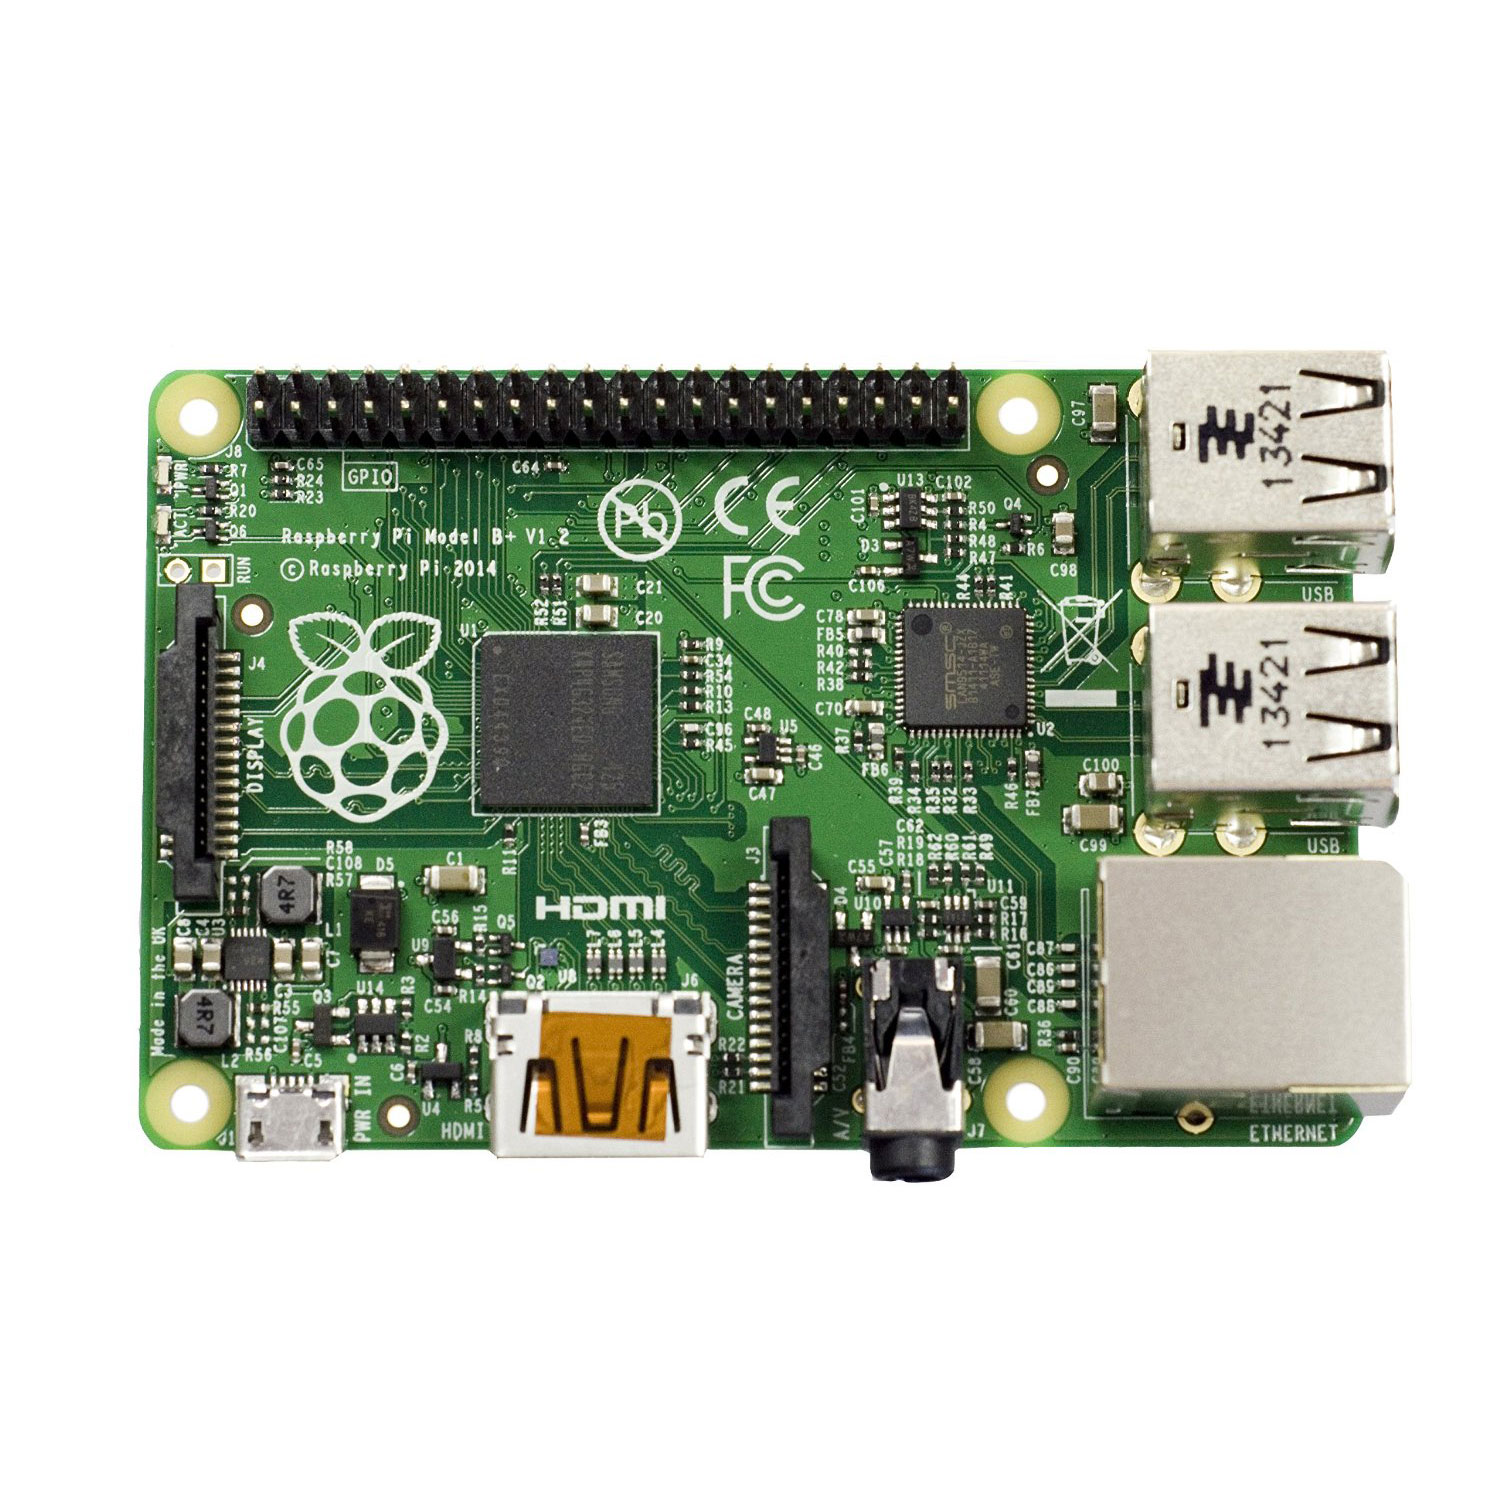
The modern landscape of computing is experiencing a paradigm shift, with the Internet of Things (IoT) becoming increasingly intertwined with our daily routines. This shift has amplified the necessity for effortless control over devices, irrespective of geographical boundaries. The Raspberry Pi, a marvel of affordability and adaptability, has emerged as a cornerstone of this revolution. However, to truly unlock its potential, one must master the art of remote access. This capability allows users to interact with their Raspberry Pi from any device be it a computer, tablet, or smartphone opening doors to a world of possibilities, from home automation to intricate programming projects. The ability to remotely manage a Raspberry Pi is not just convenient; it is a vital component of the modern digital ecosystem.
The primary method to achieve remote access for a Raspberry Pi involves leveraging a web-based SSH (Secure Shell) client directly within your web browser. This eliminates the need for additional software installations on your accessing device, streamlining the process. The web console then serves as your digital portal, connecting your Raspberry Pi directly to your PC's browser or even your mobile device. This versatility guarantees that your control over your Raspberry Pi remains consistent and reliable, regardless of the device you use.
Central to this process is the "remoteiot" service, a powerful tool specifically designed to facilitate remote access. The installation of this service is a straightforward process, beginning with accessing your Raspberry Pi's terminal, either directly or through an SSH connection on your local network. After installing the service, the next step is to visit the remoteiot portal in your browser and log in to your dashboard. Upon successful login, your Raspberry Pi will be visible in your list of registered devices, granting you immediate control and access to the system. This user-friendly interface is designed to simplify the management process, regardless of your technical expertise.
This approach provides a standard terminal emulator compatible with the X Window System. This ensures a familiar and functional interface mirroring the local terminal experience, facilitating ease of use, and allowing for the execution of complex commands.
Why combine remoteiot and VPC networks with a Raspberry Pi?
The synergy of remoteiot and VPC (Virtual Private Cloud) networks with a Raspberry Pi introduces enhanced security and control. A VPC isolates your Raspberry Pi within a private network, which significantly reduces its exposure to public threats. Remoteiot provides a secure method to access and manage your Raspberry Pi from anywhere. Combined, they offer a robust solution for secure remote control and monitoring, crucial for sensitive IoT applications and projects that require a high degree of data protection.
Applications of remoteiot VPC network Raspberry Pi are diverse. They range from securely monitoring environmental sensors in remote locations to controlling industrial equipment. Businesses can remotely deploy and manage IoT devices without the need to physically access them. Hobbyists can use it for remote projects or even for setting up a private home server securely. In essence, the combined power of remoteiot and VPC networks gives users the means to establish highly secure and adaptable remote access solutions tailored to meet individual project needs. The security provided makes it ideal for any task, from simple automation to demanding industrial applications.
Setting up a remoteiot VPC network Raspberry Pi:
The initial steps involve the configuration of a VPC within your cloud provider's infrastructure. This entails creating a private network environment isolated from the public internet. Afterward, you'll install the remoteiot service on your Raspberry Pi. The installation process will vary slightly depending on your chosen cloud provider, but will involve creating network settings, and establishing the necessary permissions. The Raspberry Pi is then configured to connect to the VPC, often using tools to configure a VPN connection or direct IP routing within the VPC. This securely connects your Raspberry Pi to the private network, providing remote access and control.
Connecting the Raspberry Pi to the VPC
The process typically involves configuring your Raspberry Pi's network settings to align with the VPCs parameters. This usually means setting a static IP address within the VPCs designated range and configuring any necessary routing to the VPC gateway. Depending on your chosen security protocols, you might set up a VPN or another encrypted connection to safeguard data transmission. These measures ensure secure communication between your Raspberry Pi and the VPC, and they are essential for safeguarding sensitive data and maintaining secure remote access.
Downloading SSH remoteiot is a straightforward process. The following steps will help:
Visit the official ssh remoteiot website or repository.
Download the latest version of the software compatible with your raspberry pi's operating system.
Verify the integrity of the downloaded file using checksums or digital signatures.
Whether you're a hobbyist, developer, or business owner, this guide will walk you through everything you need to know about using remoteiot software with your raspberry pi. Remoteiot is like having a personal assistant for your raspberry pi, but instead of coffee, it delivers control. As more businesses and individuals rely on remote work and iot applications, the ability to control a raspberry pi from anywhere in the world is no longer a luxury but a necessity.
Here are some additional tips to ensure your raspberry pi is ready for remote access:
Use a reliable power source to prevent unexpected shutdowns. A stable power supply is vital for any embedded system to prevent potential data loss and maintain system stability.
Keep your raspberry pi firmware up to date for optimal performance. Updating firmware can provide security patches and optimize system performance.
Document your network settings and ip addresses for easy reference. Keeping track of these vital settings is key to troubleshooting and helps save time when configuring remote access.
Tools and software for remote raspberry pi access
Several tools and software options are available for remote access to your Raspberry Pi. Remoteiot is a complete solution, but there are other options to consider. For example, using an SSH client is another well-known method that lets you execute commands remotely. Some options use a VNC (Virtual Network Computing) server to provide a full graphical desktop experience on your accessing device. Each option has its advantages and disadvantages, depending on your specific requirements. With the range of options, you can pick the one that best matches your level of technical skill and your projects needs.
The ability to remotely access and control a Raspberry Pi offers unparalleled flexibility and potential for innovation. The simplicity and effectiveness of utilizing a web-based SSH client, combined with the power of the remoteiot service, demonstrates the ease with which anyone can unlock the full capabilities of this device.
Start by opening the terminal of your raspberry pi or access your raspberry pi with ssh on the local network and install the remoteiot service. Then, open the remoteiot portal in your browser and login to the dashboard. You should now see your raspberry pi in the list of account devices, ready for your commands. With the correct implementation of these steps, you'll have the power to start making remote connections and harnessing the full potential of the Raspberry Pi.


